

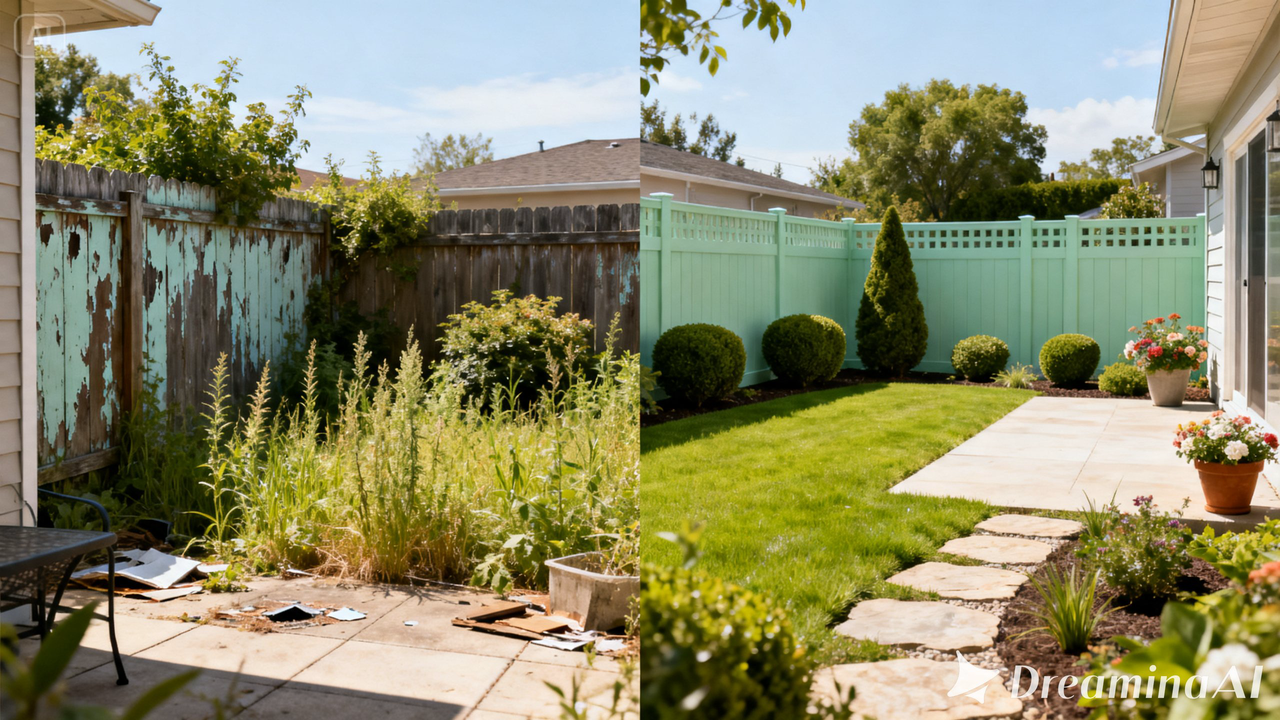
A before-and-after photo pair can tell a powerful story — a renovated room, a transformed yard, a change in appearance after months of work. The problem is that most viewers glance at two static images side by side and move on without really absorbing the difference.
Image to video tools give that transformation a way to actually unfold on screen, turning two still photos into a single clip that shows the change happening rather than just implying it.
Dreamina, running on its most advanced video generation model, Seedance 2.5, makes that transition feel smooth and genuinely earned rather than like a jarring cut.
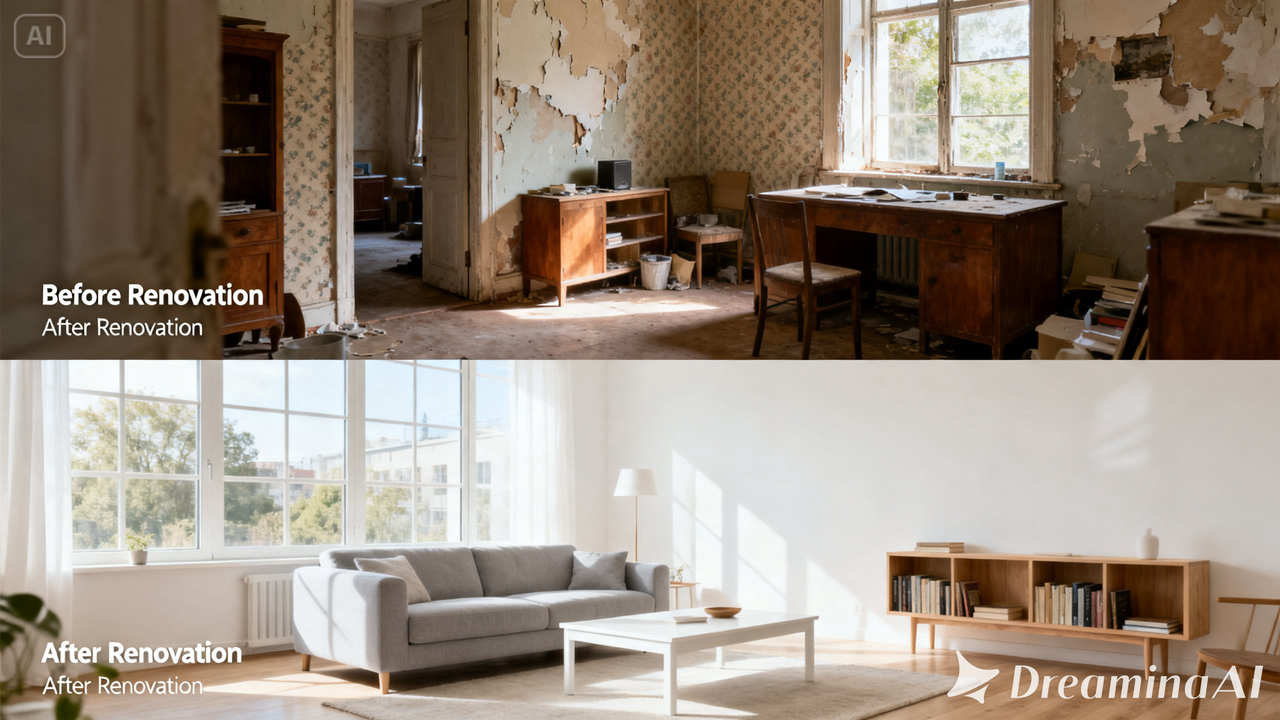
Why a side-by-side comparison undersells the transformation?
Placing two photos next to each other asks a viewer to do the comparing themselves, jumping their eyes back and forth to spot what changed.
A video removes that effort entirely, guiding the eye through the transformation in a way that makes the result land with far more impact than two flat images ever could on their own.
What makes a before-and-after video actually compelling?
A few things tend to separate a transformation video that works from one that falls flat. The transition itself should feel deliberate — a slow dissolve, a wipe, a camera move that reveals the after state — rather than an abrupt jump cut.
Lighting and angle should stay as consistent as possible between the two source photos, since mismatched framing can make the comparison confusing.
And giving the after state a moment to be appreciated on its own, rather than instantly cutting away, tends to leave a stronger impression.
Creating your before-and-after video with Dreamina
Step 1: Upload the pictures and explain the transition process
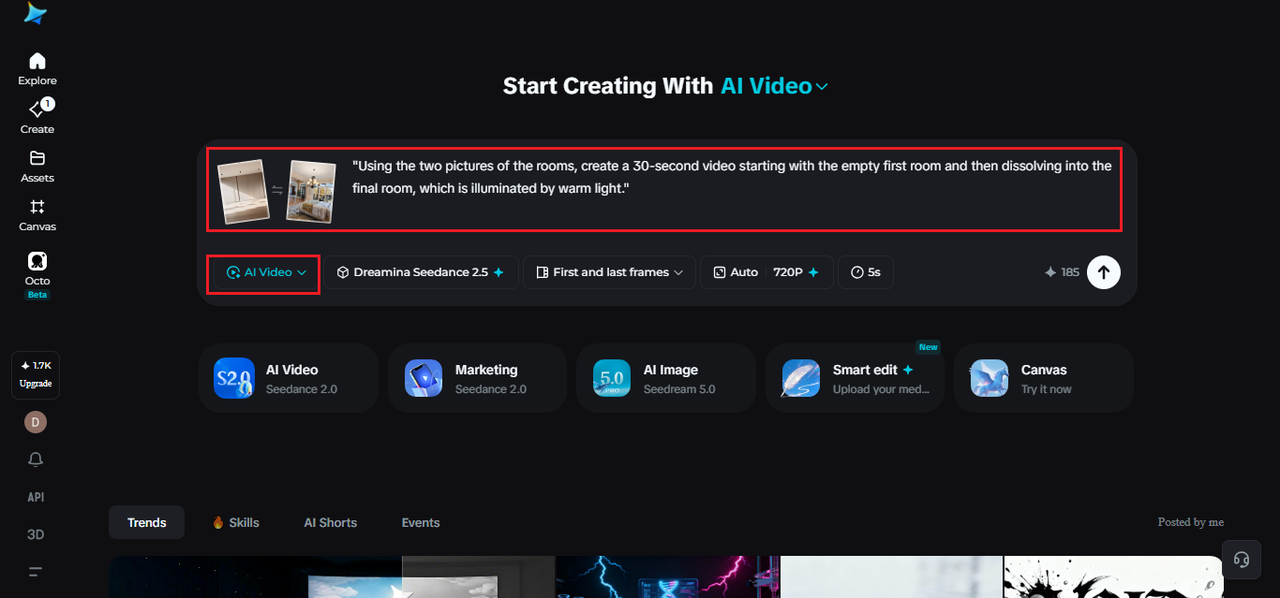
Launch Dreamina and click on the “AI Video” part of the application. Add the first picture using “Add reference image,” then add the second picture. Next, explain how the transition is supposed to happen.
Here is an example of an explanation for a 30-second clip: “Using the two pictures of the rooms, create a 30-second clip. The second video starts with the empty first room and then dissolves into the final room, which is illuminated by warm light.”
Step 2: Generate with Seedance 2.5
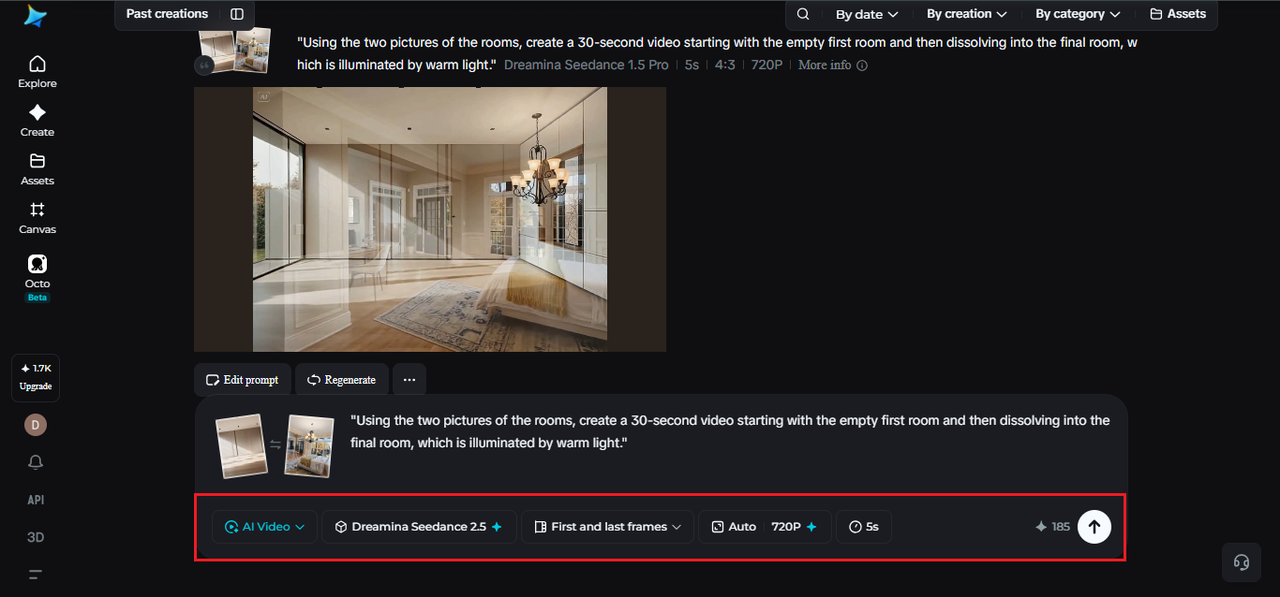
Pick the Seedance 2.5 model, choose your video length, then select an aspect ratio — 9:16 for social platforms, 16:9 for a website or portfolio piece. Tap Dreamina’s generate icon and let the transformation take shape.
Step 3: Refine and export the finished clip
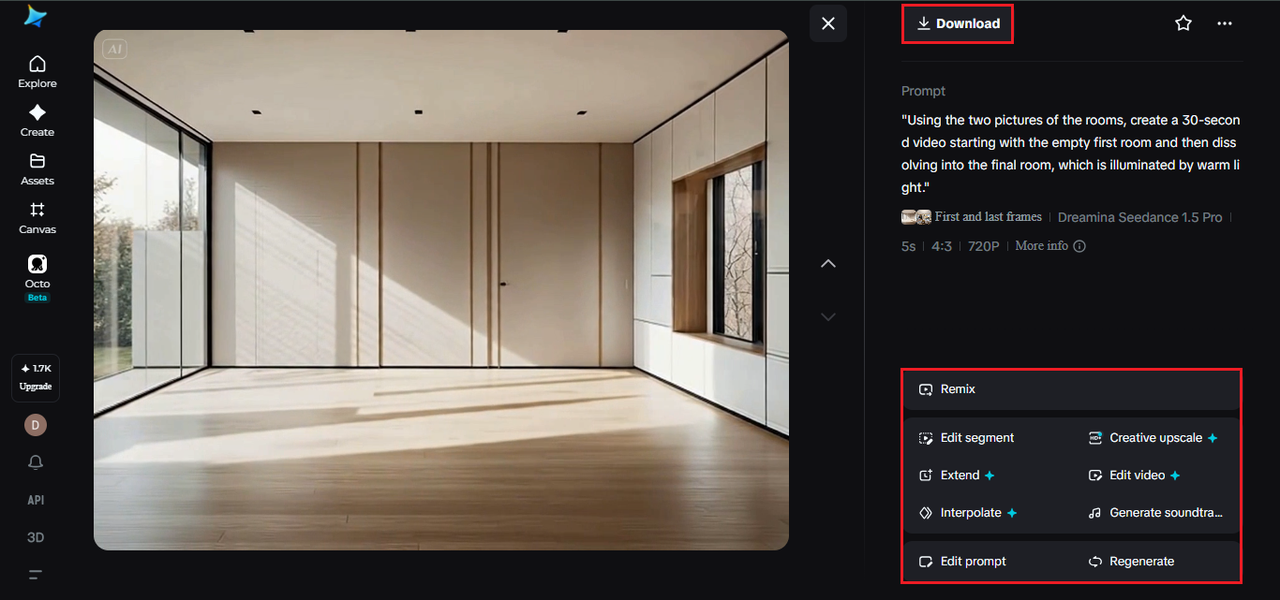
Run it through Dreamina’s editing tools first — Upscale sharpens detail on both states, Generate Soundtrack adds a satisfying reveal-style audio layer — then export and share it wherever the transformation deserves to be seen.
What Seedance 2.5 brings to transformation videos?
Seedance 2.5, Dreamina’s most advanced video generation model, handles the kind of controlled, multi-reference motion this format depends on.
Smooth transitions between two references
Multimodal input support allows more than one image to guide a single generation, which is exactly what a before-and-after clip needs to move convincingly from one state to the other.
Consistency that holds the comparison together
Comprehensive quality improvements reduce the flat “AI look,” keeping lighting and color consistent enough across the transition that the comparison still reads clearly to a viewer.
Room for the after state to be appreciated
Extended duration up to 180 seconds in Ultra-long mode allows the finished result to hold on screen longer, rather than being cut short right after the reveal.
Fixes without redoing the whole transition
Local editing lets one small detail in either state be adjusted without regenerating the entire clip, useful when only one part of the comparison needs correcting.
Choosing how impactful the reveal will be
Every change does not require the same pace of transition. A simple transition that involves just a slight modification would require a fast-paced transition.
However, more drastic changes such as renovations and transformations may need to go through a slower process before the final reveal. The pace used will depend on how drastic the real-life transition will be.
Reflective surfaces in the reference photo
There is a difference in how glass, chrome, or gloss plastic react when there is any motion in play because the reflection would be changing all the time while the camera or object moves.
An object that has been shot against an intricate background might start to reflect distracting elements when animated, even though the background was not particularly prominent in the initial photo. It is helpful to select a clean background in the reference or state the reflective surface in the prompt.
Prompts that ensure an honest transition process
Explaining how the transition will be made, such as dissolving, wiping or reveal using the camera, helps the model understand how the two transitions will be bridged.
Choosing the right pace and length
A shorter, punchier version suits a quick social share, while a longer version with more breathing room works better for a portfolio piece meant to showcase detailed craftsmanship.
A few habits that weaken a before-and-after video
Some choices tend to undercut the effect:
- Using before and after photos taken from noticeably different angles
- Rushing the transition so quickly that the change barely registers
- Ignoring lighting differences between the two original photos
- Cutting away from the after state too soon for it to actually sink in
Where these transformation videos tend to be used?
Home renovation content, personal transformation stories, landscaping and design portfolios, and service-based business marketing are where this format shows up most, since a change that unfolds on screen tends to build far more trust than two photos placed side by side.
A before-and-after was always a story about change. Seedance 2.5, running through Dreamina, is what finally lets that change actually happen in front of a viewer, rather than asking them to imagine it themselves.
